
In this post, I want to show complete beginners how to get started with mini painting.
Painting and collecting minis is a whole hobby in its own right, and I’m relatively new to it. I never collected Warhammer or other minis growing up, and most of my D&D minis were pre-painted. Lockdown last year gave me a chance to dip my toes in the hobby.
As such, I will start with my usual disclaimer, but this time more emphatically than ever: I am not an expert! In fact, quite the opposite, but that’s very much the point. I want to show you that you can learn to paint minis to a decent tabletop standard with only a few key techniques. I am still learning, and there are still techniques I haven’t tried yet or want to get better at. I welcome your feedback and corrections in the comments.
Secondly, as with my holiday gift guide, this is an independent blog with no affiliate links or paid promotion. Heck, I haven’t even monetized this thing yet. If I recommend a particular product, it is because I have used it myself. If I have missed something out, then please comment below.
Finally, if possible, please support your friendy local game store and indepedent art stores when you can. I have avoided links to the warehouse of Belzebezos, and I encourage you to use them only as a last resort.
Tools of the trade
It’s worth saying from the outset that good gear will not make you a good painter. Similarly, there are great painters out there who paint with cheap synthetic brushes and mix their own paints. Paints, brushes etc can also be a matter of personal taste. Some people use nothing but Citadel paints from Games Workshop; others hate them. With all that said, good gear can certainly make your life easier, so I thought I would make a few recommendations.
Let’s start with brushes.
Brushes


The brush I use the most is a Winsor and Newton Series 7 (size 2). It forms a crisp, sharp point and is just as useful for detail work as it is for basecoating. It might seem a bit expensive if you are just starting out, so perhaps you should see this as an upgrade once you know mini painting is for you. One good brush is better than three crappy ones, though.
I would also recommend the following: a drybrush (more on this later), a large brush (for basecoating giants, dragons and so on), and a detail brush (eg, a Winsor and Newton size 0) for those hard-to-reach places. With human-sized minis, though, I generally only need a size 2, even when I’m picking out details like belt buckles and eyes. (Another advantage of a larger brush, like a size 2, is you can load up more paint on the bristles, which means fewer return trips to your palette, which means faster painting.)
Winsor and Newton are widely considered to be some of the best, but many painters swear by the Da Vinci Maestro series and the Raphael 8404s. I haven’t used Raphael brushes, but I’ve heard good things, and my next replacement brush will probably be a Raphael 8404. I also own a Da Vinci detail brush, and it’s not bad at all. Worth mentioning: brush sizes are not standardized, and they can vary quite significantly in length and thickness.
You may notice that all three brands use natural sable hair in their brushes. Synthetic brushes don’t tend to keep such a sharp point, but they can be much cheaper, which makes them a good place for beginners to start, potentially.

Since we’re on the topic of brushes and how expensive they are, here are just a few tips for looking after them:
- Don’t load up the whole brush with paint. Aim for the top half of the bristles. The place where the bristles join the brush is called the ferrule, and you want to avoid getting paint in there because it will break down the glue and cause the bristles to splay outwards. This might be extreme, but I sometimes flip my brush round and use the tip of the handle to mix paints and water them down, just to make sure I’m not clogging up the ferrule!
- Rinse your brush regularly, at least once every two to three minutes (and if the water is getting a bit murky, or you’ve been using metallic paints and the water is getting shiny, change the water). Don’t leave your brushes resting in a water pot for too long.
- Store your brushes flat, not upright, and if you have one, use a brush cap (the little plastic tube that goes over the bristles).
- Wash your brushes with brush soap. It cleans out dried paint and helps condition the brush back into a point. The go-to product here is ‘The Masters’ brush cleaner and preserver. A 1-oz pot will last years.
- ‘Drag’ the brush. Never ‘push’ it.
If you follow these steps, you should be able to paint pretty often, maybe even every day, and only need to replace your brushes once a year. There are more major steps you can take to restore a worn-out brush, but you probably don’t need to look into that just yet.
Paints

I need a new storage solution . . .
I’m a big fan of the Vallejo game colour range. I’ve tried Citadel paints, and while I like the washes, I prefer Vallejo overall, not least because dropper bottles just make so much more sense to me than Citadel paint pots.
Now, if you’re just getting into mini painting, you have three options here. Option one: get a starter set. Option two: buy the paints you need, as and when you need them. Option three: splurge and buy a whole range.
Am I telling you to buy a whole range of paints straight off the bat? Of course not. However: I went with option two, and I now have a collection of – checks – over 100 mini paints. They probably cost me £2 to £3 each ($3 to $4). With hindsight, it might have been cheaper to buy a load of minis at once, instead of picking them off one by one.
Vallejo have recently collaborated with WizKids to launch a couple of cool paint cases: a ‘basic starter case’ and an ‘intermediate case’. You get 40 paints in each case, and I’ve seen them retailing in the UK for around £60. That’s a great deal, not least because you get a convenient carry case for all your paints! The starter case has a really nice range, although I would maybe quibble with some of the choices – green wash, red wash, and squid pink, for example, should have been replaced with the much more useful tan, silver, and heavy blue grey – but that’s splitting hairs. I wish this product had been available when I started painting.
In my tutorial below, I’ve tried to use a small range of very versatile colours. If you want somewhere to start, you could do worse than picking up those paints.
Minis


With so many excellent models to choose from, where do you start?
If you’re a complete beginner, I highly recommend WizKids unpainted minis. Because they are licenced by Wizards of the Coast, the models will have a close resemblance to the images you see in the Monster Manual and other D&D products. I like the fact that they come pre-primed (although the primer can be a bit too heavy) and require very little assembly. I also think they are reasonably priced.
If you want to pick up a lot of D&D minis quite cheaply, the D&D board games are supposed to be quite good. These minis will need to be primed, but they are otherwise very similar to the WizKids unpainted line. There have been four of these board games so far: Wrath of Ashardalon, Castle Ravenloft, Legend of Drizzt, and Tomb of Annihilation. Each box comes to around £50 ($70), and you get about 40 minis in the box. In terms of price per mini, that’s not bad at all.
Then there are other options: too many to go over in detail, frankly. Reaper Bones do some excellent minis, although they are on a slightly different scale compared to WizKids, and they don’t have the licence to copy D&D designs (so a beholder might be called an ‘eye beast’, for example). They will require priming, and the sculpts aren’t always as detailed as the WizKids line. The range is huge, though, and their kickstarters are fantastic value. I am interested in trying some of the models from Mantic Games at some point, and particularly their Kings of War line. I have heard their undead are excellent.
Lastly, if you want to go bespoke, Hero Forge are just amazing. You can design your mini to look exactly how you imagine them. I bought myself five of their minis as a birthday present to myself a couple of years ago, and they’re wonderful (see below). If you are in the UK, be aware that shipping costs can make these very expensive. I recommend the premium plastic material.


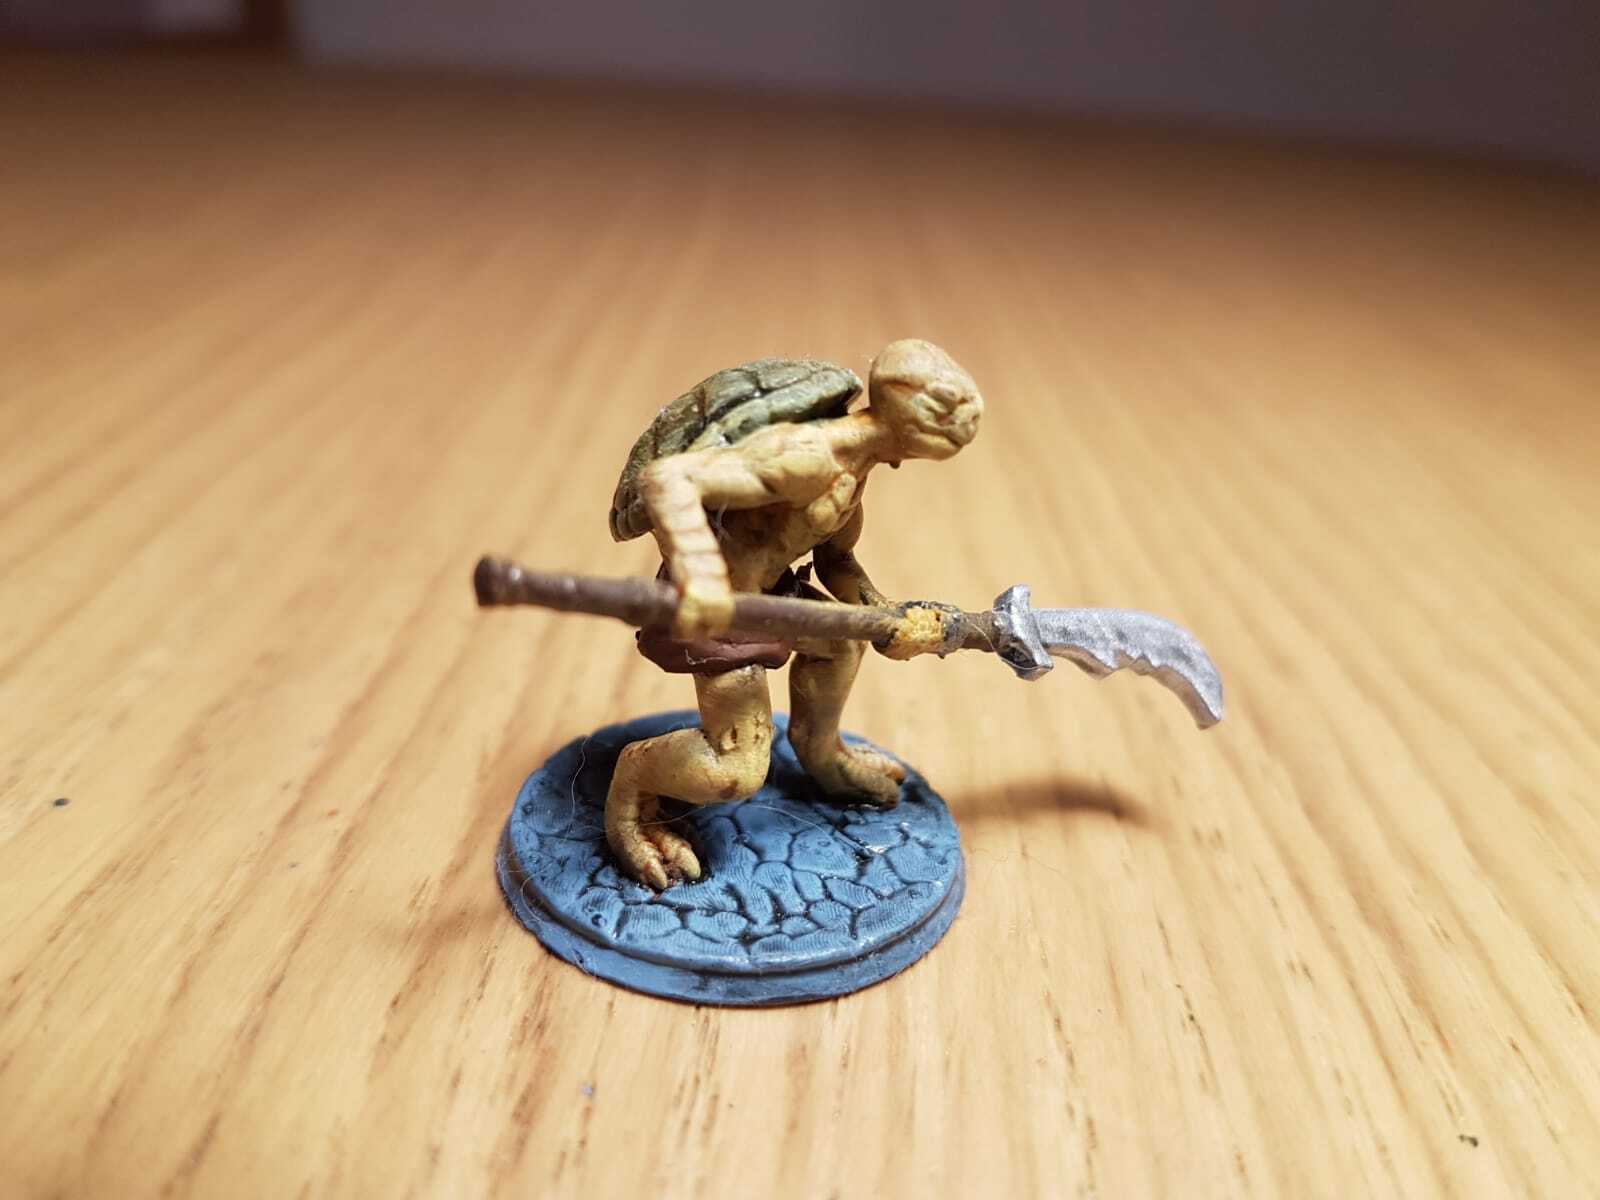


Putting aside the question of which brand to go with, what are the most useful minis to get? Start with the player characters. These will be the minis you will see on the table more than any others, so try to find some figures that match the party. After that, it depends on your campaign! Perhaps you like giants, or fiends, or elementals. Maybe you just want to collect all the dragons (guilty). In terms of sheer versatility, though, humanoid figures are king: orcs, goblins, undead, warriors, and so forth.
Other stuff
Other than paints and brushes, you don’t need much more to get started. Paper towel is essential, but cheap. An old mug can service as a water pot. Plastic party plates make a good paint palette, and some people even use a piece of tile covered with packing tape, or the packing material that the miniature came with. At some point you will probably want Gorilla Glue and spray-on varnish for assembling and finishing your models, but these can wait until you have a few painted minis under your belt. You also need good lighting and perhaps a tablecloth to protect your furniture.
Putting it all together: techniques and a tutorial
For today’s post, I delved into my box of shame and pulled out a dwarf warrior from WizKids that has been hanging around for a while. Here’s what he looked like straight out the box.

The first stage is to basecoat. Thin your paints with water to the consistency of melted ice cream and apply them to the mini with a size 2 brush. (In fact, I did almost all of this model with a size 2.) Don’t worry too much if you obscure details at this stage, as you can always go back and correct your mistakes.
Here are the paints I used for this model, in this order: heavy skintone for the face and hands; heavy sienna for the wood and leather areas; gunmetal for metal parts; heavy red for hair, and the trim around the bottom of the armour; bonewhite for the fur; and charred brown for the base. These are all from the Vallejo game colour line; if you prefer Citadel paints, or another manufacturer, this conversion document provides equivalents.


I try to work ‘from the outside in’, as it can be difficult to go back in to get hard-to-reach spots later. I also try to move around the mini to avoid painting areas that are next to each other, where the paint might run together.
Allow the basecoats to dry, then apply a few washes to add depth and shadow. Washes are sometimes known as ‘liquid talent’ because they are so easy to use and make such a difference to the model. I used flesh wash on the hands and face, umber wash on the hair and base, sepia wash on the fur, and black wash on everything else. In hindsight, this was possibly a bit overkill. Most of the time I get by with black and sepia washes only.

Try not to let your washes pool. If you find this happening, quickly go in with a dry paintbrush and use it like a sponge to dab off the excess. Again, allow the paints to dry. Washes usually dry a bit quicker than basecoats.
The next stages were the hardest to photograph but make a huge difference when you look at the mini in person: layering, highlighting, and drybrushing. These are technically different techniques, but fulfil a similar purpose.
Layering is where you apply thin coats of paint to build up to a change in colour. I used cadmium skin as a layer paint on the face and hands, trying to avoid the recesses where the shadow was. Looking back, I went in a bit heavy here, but it’s not the end of the world. You will make mistakes when mini-painting, and that’s part of getting better!
Highlighting (sometimes called edge highlighting) is where you look for the highest points on the mini – the points that get the most light – and pick them out lighter or brighter colours. A lamp can be really useful here: point the light straight down and see where it falls. These are the areas you want to catch with your highlights.
I used chainmail silver on the metal areas, parasite brown on the leather, and bonewhite on the fur. (There’s nothing wrong with going back to a basecoat once you’ve given it a wash.) For the hair, I used blood red first, and then hot orange for the final highlight, but the area is so small that you could make do with just the orange, or even a repaint of heavy red.
Finally, drybrushing. This is one of my favourite techniques, particularly on larger models with lots of texture, like dragons. You put a bit of paint on an old brush and, paradoxically, wipe most of it off (use kitchen towel) until barely any is coming off. Then, you lightly brush against the grain over textured surfaces so that the bristles deposit a ‘dusting’ of paint onto the highest surfaces. I used leather brown to drybrush the base, followed by bonewhite.
Here is the finished mini:


Overall, I’m pretty pleased this one. I managed to pick out the studs in the armour and the buckle on the belt, and I was pleased with the layering and highlighting on most of the model. The face could have been better. I actually think it looked better before I went in with cadmium skin. The base is fine for tabletop gaming, but basing is something I plan to get better at this year. Just as a good painting deserves a good frame, a good mini deserves a good base!
If you’re new to painting, I hope you found this post useful and it’s inspired you to go out and start painting. If you’re an old hand, where did I go wrong?
To subscribe, click here. You can unsubscribe any time. You can find me on Facebook at scrollforinitiative, Twitter at scrollforinit, and Instagram at scrollforinitiative. And if you like what I do, you can buy me a coffee (or a mini!) here.
One thought on “Getting started with mini painting”